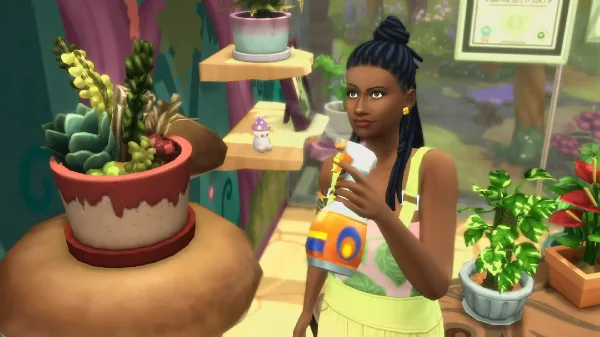


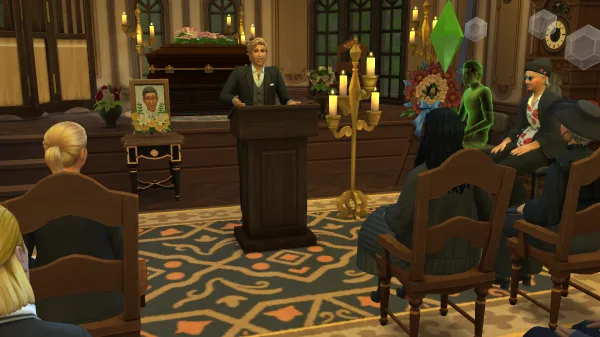

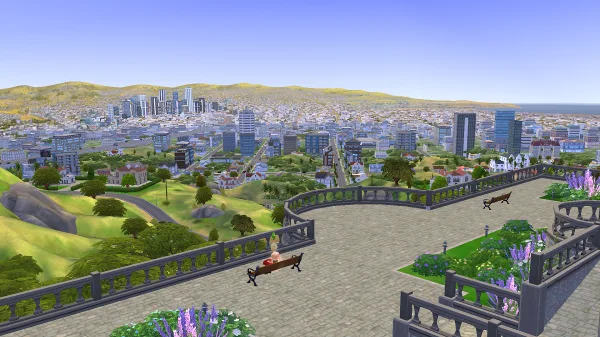


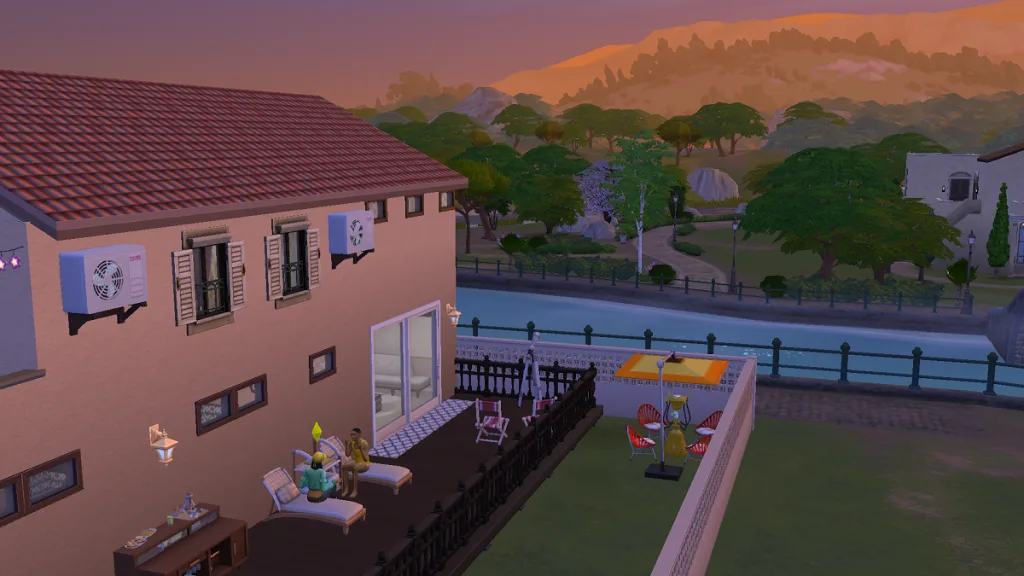
The Sims 4: Adventure Awaits has brought so much new content to the life simulator that it’s hard to know where to even start. One of the most substantial additions has to be the new Custom Venues. This is a new lot type that allows you to make… Well, basically anything you can find the Build/Buy Mode items for.
Custom Venues are primarily intended for your Sims to head to when they go on a Getaway. But, there’s a lot you can do with them. The real hook is that you can set up schedules, target demographics, and even micromanage attendees’ autonomy while they’re there. You can also set dress codes, specify staff roles, and a whole bunch more.
While the flexibility offered by Custom Venues brings with it a huge amount of gameplay potential, it’s not immediately the most intuitive system to use. It can take a while to get used to, and sometimes it isn’t clear where certain functions are hiding. So, here’s a quick rundown of what to expect while building (or renovating) a Custom Venue in The Sims 4.
How to create a Custom Venue in The Sims 4
Making a Custom Venue in The Sims 4 is easy when you know where to look. It’s just a matter of changing the lot type, the same as if you were building anything else from scratch.
Open up your target Lot in Build/Buy Mode and head over to the top-left corner. Select the icon that looks like a house with an ‘i’ (or a stick person) inside of it to bring up the menu. Next, click the drop-down menu underneath Lot Type. Scroll until you find Custom Venue, and select it. If you have much DLC installed, then you’ll find it near the bottom of the list.
As soon as you’ve done that, you officially have a Custom Venue on your hands. However, to make it actually work properly, you’re going to need to get your hands dirty in the scheduler.
How to configure your Custom Venue
So, you’ve made a Custom Venue. Now it’s time to, well, customise it. That figures.
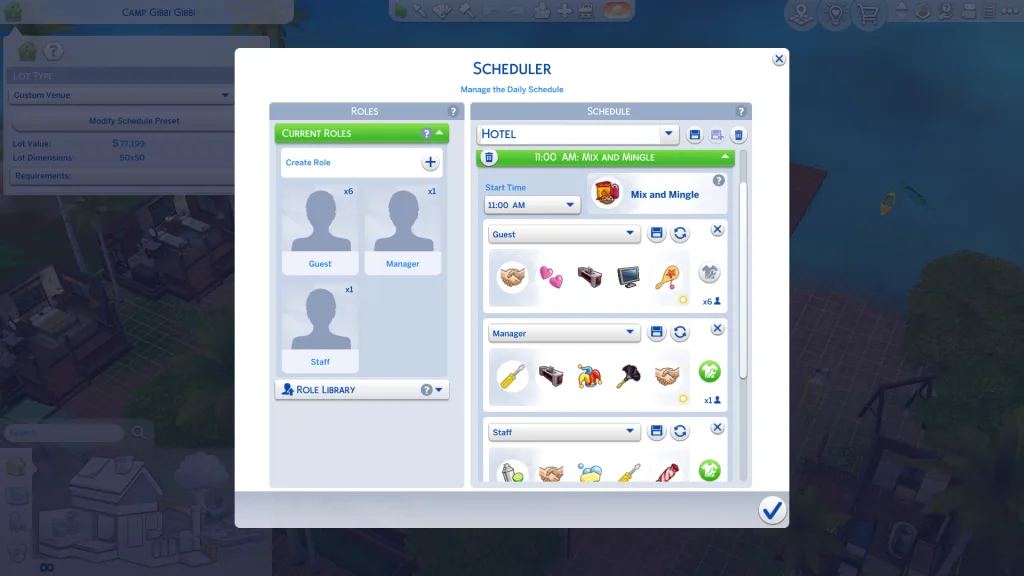
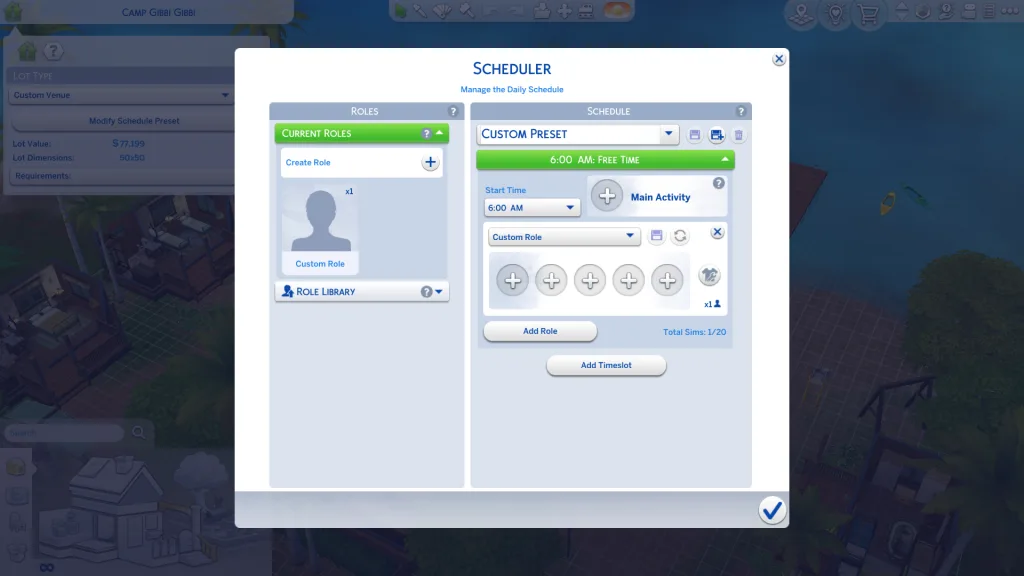
Changing your lot type to Custom Venue will give you a shiny new button to select underneath the Lot Type dropdown menu. This will be labelled Configure Schedule Preset. Selecting that will open a large, complicated editor. This is going to be very important for managing your venue and making sure it works properly.
Select the button to open the editor. This is a screen you might be familiar with if you’ve sent your Sims on a Getaway before.
From here, you can customise roles, edit your schedule, and select a preset for your Custom Venue. If you’re new here, or don’t have a clear, concrete idea of what to make, then I would suggest you try out one of the presets you have at your disposal first. This should give you an idea of how the lot type works before you try to put your own stamp on it.
Plus, The Sims Team’s recommended settings for making the most of things are rather good.
How to use a preset for a Custom Venue in The Sims 4
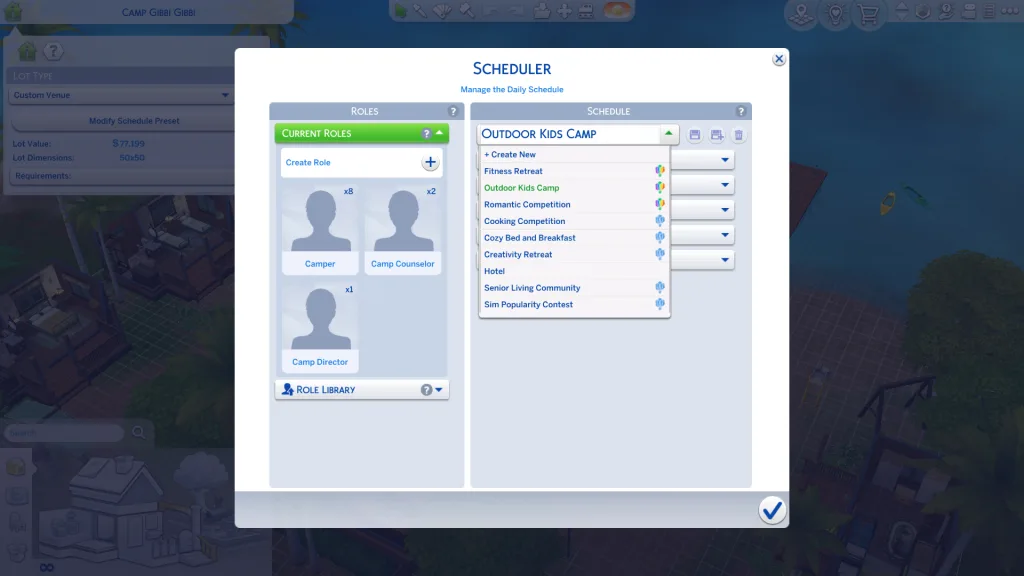
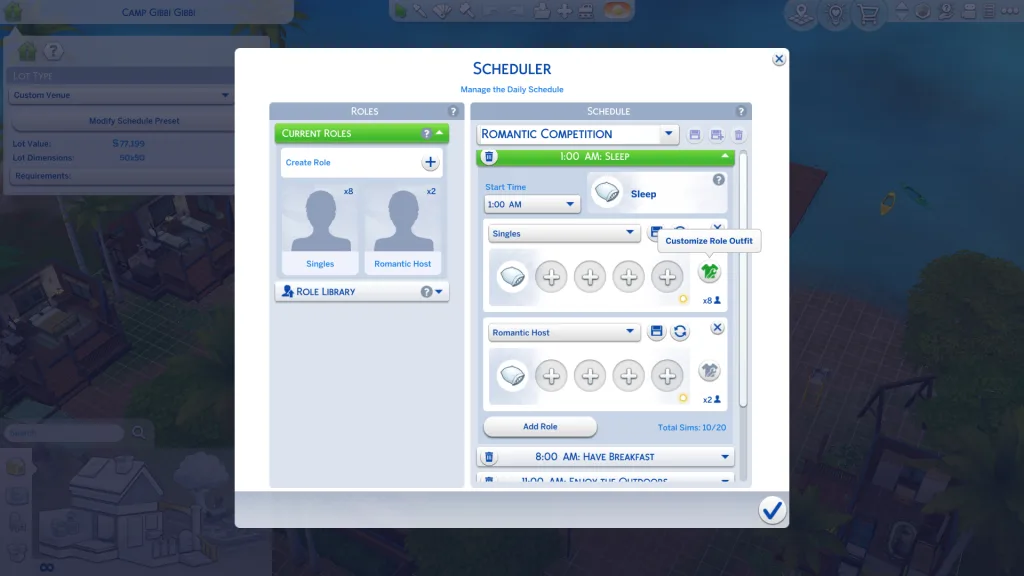
Using a preset for a Custom Venue is easy. All you need to do is click the drop-down menu underneath where it says Schedule, and pick a preset from one of those options. This is how you can easily turn a Custom Venue into things like an Outdoor Kid’s Camp, Romantic Competition, or even a Senior Living Community.
How to customise a Custom Venue’s roles
Roles are a fundamental part of managing a Custom Venue. You manage them by assigning different activities and presets to each role in the editor window.
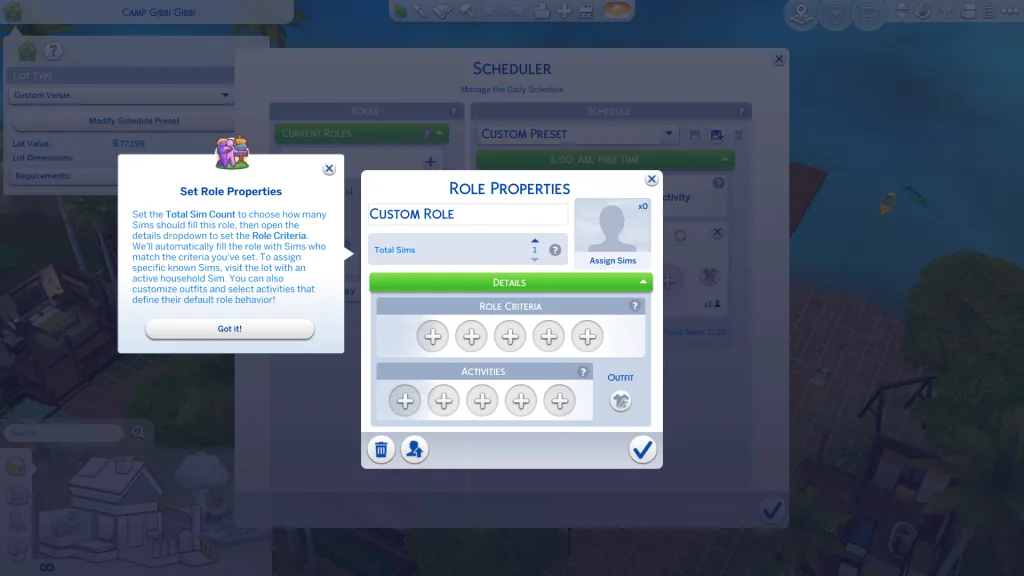
You can edit or create a role by clicking the Custom Role button on the left-hand side of the editor. If you’re already editing a preset, then instead of saying Custom Role, the role might say something like Camp Director.
You can also add a new role by clicking the plus button in the roles column. That’s just above where the roles are listed.
Customising a role allows you to change their:
- Default activities
- Requirements or prerequisites (for example, if you wanted to create a role for hotel staff, you might want them to have a high cooking skill)
- Uniform/dress code
How to customise a Custom Venue’s schedule
Setting your Custom Venue’s schedule serves two purposes. Firstly, it’ll act as a guide for what to do when you play there. Secondly, it’ll influence the autonomy of all the other Sims who are in attendance that you aren’t controlling.
Schedule segments have to last a minimum of three hours, and can run for any amount of time you see fit. You organise them by setting different activities for each role.
There are all kinds of things you can do here. You can:
- Add a new block of time to your schedule by clicking the New Timeslot button
- Set general activities by clicking the plus button next to Main Activity and choosing one from the list
- Set up to five role-specific activities per timeslot
- Dictate when the scheduled activities begin
- Customise each role’s dress code per timeslot, if you want to vary it from their usual dress code
Unlike some of the rest of the Custom Venues mechanic, this section actually is fairly intuitive and easy-to-follow. I’d highly recommend spending some time playing around in this section to fine tune your venues once you’re used to playing with the system.
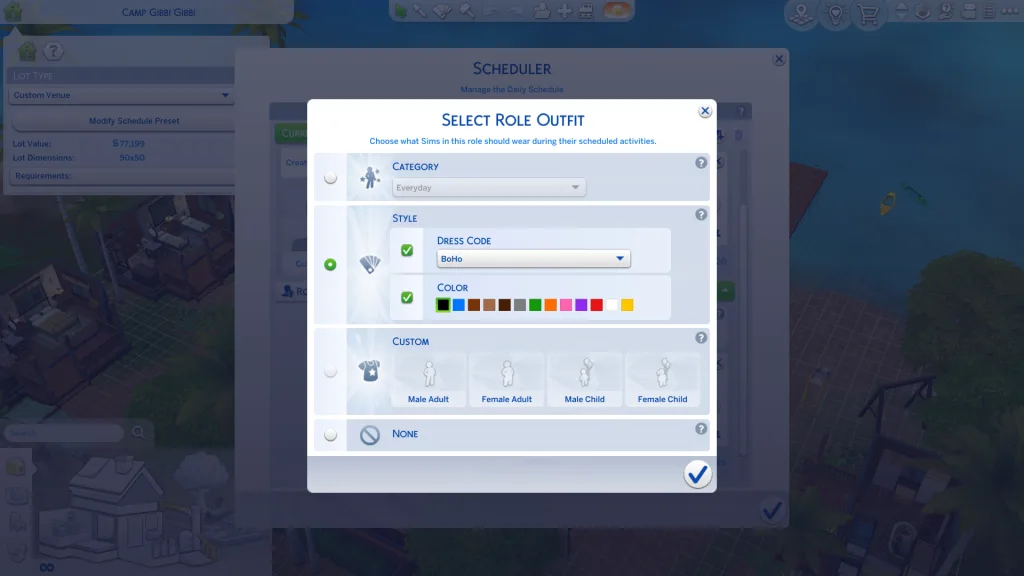
How to change a Custom Venue’s dress code
Want to set the vibe at your Custom Venue (or just want to avoid formalwear being worn in the pool at your waterpark)? You have a couple of ways of doing that. One option is for you to customise your dress code for each role:
- While editing a role (see the steps above), select the t-shirt icon with a wrench on it to open the customise outfits menu
- Tick the box next to:
- Category
- Style
- Custom
- Fine-tune the details using the drop-down menus, and in the case of Style, ticking a couple more boxes to toggle certain options on or off. Alternatively, in the case of Custom, tick the relevant boxes and head into Create-a-Sim to get to work
Your other option is to set dress codes per role, per activity. This is ideal if you plan on having a segment where Sims all go to exercise, swim, sleep, or do another activity that might involve a specific style of outfit.
You achieve this by following similar steps to what’s outlined above:
- Open the Timeslot you want to customise a role’s clothes for
- Navigate to the customise outfits menu by clicking the t-shirt icon again
- Repeat the steps outlined above to choose your ideal outfit
Theoretically, this should make Sims all follow the rules and choose outfits that fit the dress code you’ve set out for them. However, in my experience, it won’t always work out that smoothly. It doesn’t mean you’ve done it wrong – it’s just a quirk of the game.