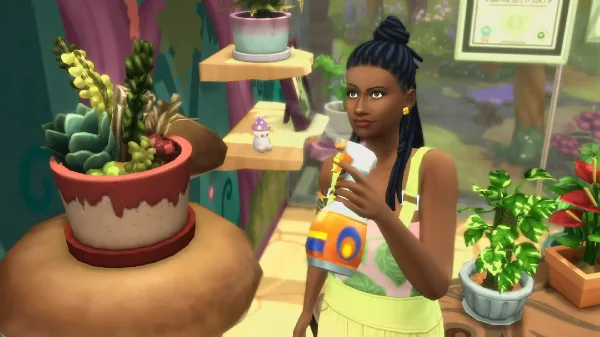


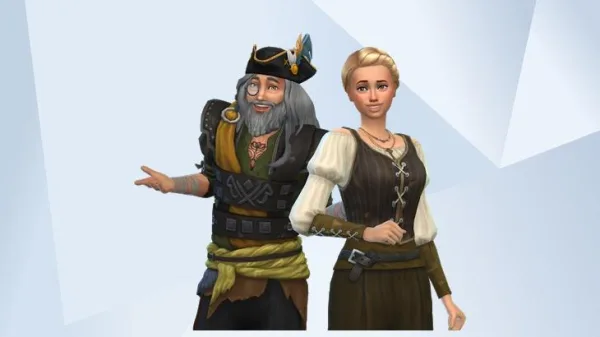


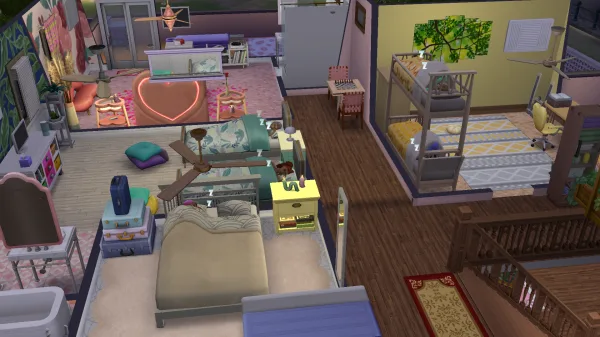


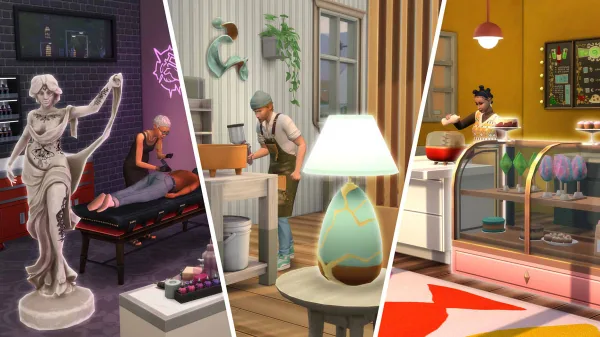
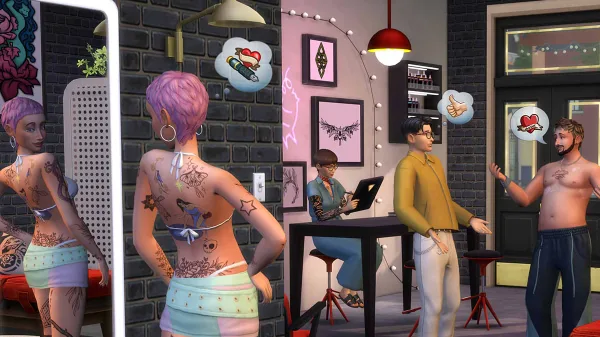


When I think of The Sims 2, the first thing I think of is its heyday in the mid-to-late 2000s. Internet forums were flooded with gothic modded Sims (Hello, My Immortal-core), machinima detailing storylines that soap operas could take notes filled YouTube, and rumours about Bella Goth were at an all-time high. A cornerstone of this era was mods and custom content. Sure, community creations were a thing for The Sims 1 too, but the game’s new technical capabilities hugely expanded what creators could do with it.
Amazingly, most custom content made for The Sims 2 back in the day still works with the 25th Anniversary Legacy Edition. So, if you’re just starting to dip your toes into modding The Sims 2, here’s a quick guide on how to best import all kinds of fanmade things into your saves.
How to install mods and custom content for The Sims 2
Adding custom content to The Sims 2 is very similar to adding it to The Sims 4, and it’s surprisingly easy. Grab whatever custom content you want to use in your game and download it. In most cases, it’ll come as a compressed file, like a Zip or Rar. These files need to be extracted before they can work properly. You can either extract it to a new folder first or extract it directly to your game files.
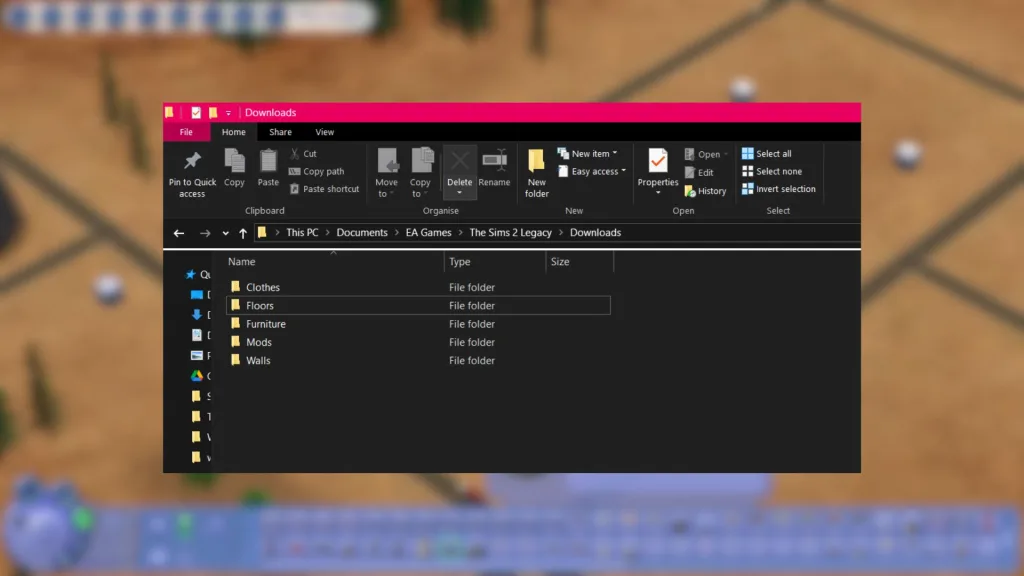
Much like when you install custom content for The Sims 1, you’re going to need to create the Downloads folder yourself. Head to this file location:
C:\Documents\EA Games\The Sims 2 Legacy
Then, create a folder and name it Downloads. Make sure you format the name exactly like that so that the game’s code can find it easily and import all of your handy mods and cute new Build/Buy Mode objects.
Organising your custom content folder
Now you have a couple of options. As mentioned, you can either extract your downloads directly to the downloads folder or put them there yourself manually. But you also have another option: The Sims 2 has a convenient quirk which was lost in newer titles, meaning that you can organise your mods and custom content folder yourself.
The Sims 4 will only read mods and custom content when it has a flat file structure. This means that any additional content has to be placed directly in the relevant folder, without any subfolders. In turn, if you have a large amount of mods or custom content, your folders will very quickly become the PC gaming equivalent of the badlands: you can’t find anything, you don’t know what you have installed, and it’s a nightmare if something breaks or when it’s time for updates. However, The Sims 2 is much more merciful.
So, with that in mind, I would suggest you try and create a simple structure for your Downloads folder before you get too bogged down grabbing loads of goodies. A few subfolders I’d suggest including are:
- Objects
- Clothing
- Mods
- Meshes
And so on. Exactly which folders you choose to go for really depends on what you plan on getting. There’s no point in having a clothes folder if you only plan on downloading pets, for instance. You can change and reorder this at any time, so there’s no real pressure to get it right on the first go.
Whichever way you choose to organise your folder, extract your content there, and you’re pretty much good to go!
Following in-game pop-ups
Now that you’ve modded The Sims 2, every time you boot it up, you’re going to be greeted by a new pop-up window. It’s not too intrusive, though, and it contains an important step for making sure your mods work properly.
On the homescreen, a pop-up window will appear listing all of the custom content you’ve just installed. This means that it recognises that you’ve added your content, and that your hard work has paid off. Yay!
To make sure you can access your new clothes, furniture, mods, and so on in-game, tick the box next to Enable Custom Content. Then, click Okay. In theory, your mods and custom content are now enabled. However, much like in The Sims 4, you may need to reboot your game by closing and reopening it to get the files to work.
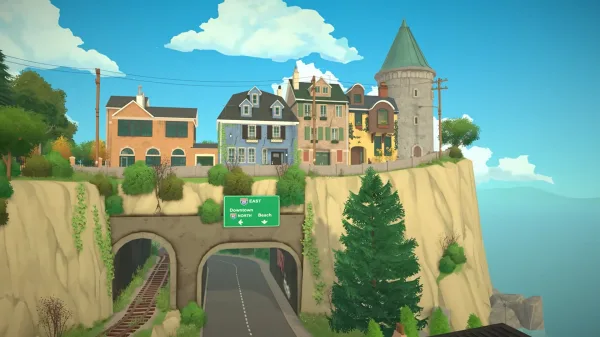
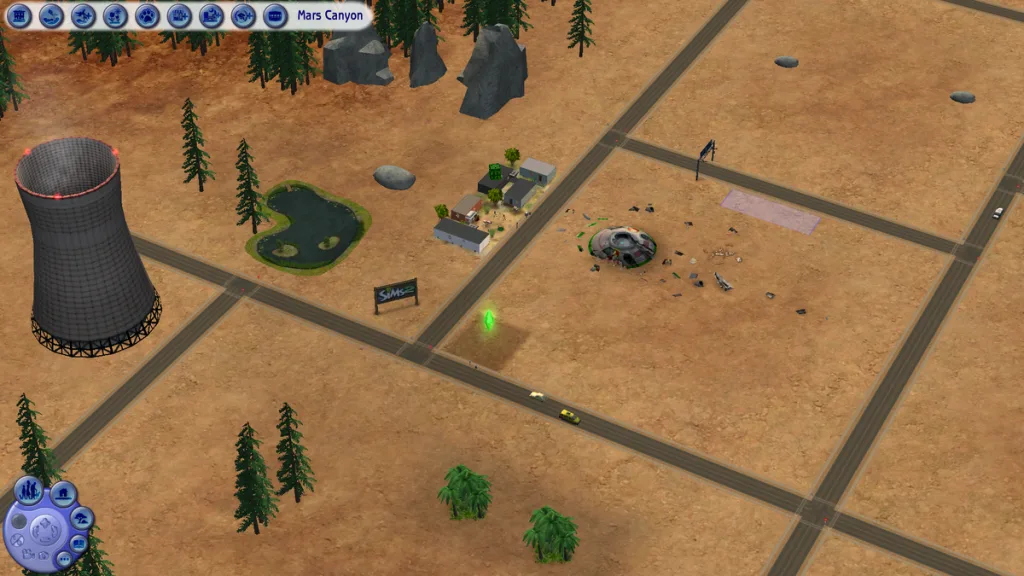
How to install custom lots and neighbourhoods
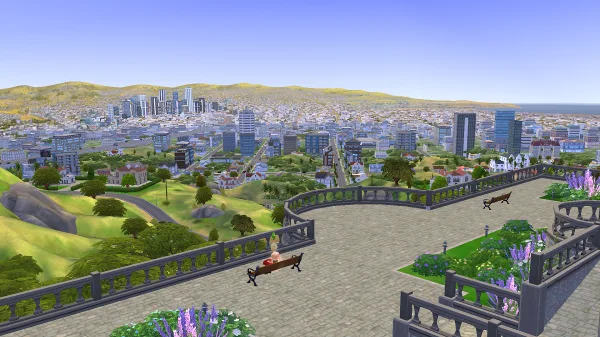
The Sims 2 brought city-building elements to the life simulator by introducing custom neighbourhoods; a fun way of making all-new worlds for your Sims to call home. As well as this being a fun and much-needed game mechanic, it also opens up the door to add even more community-made content to your saves. On top of this, The Sims 2’s building functionality also made a massive leap between the first two games, allowing for a much wider range of properties to be made.
How to add custom lots to The Sims 2
Fancy a nice new house or hangout spot, but don’t want to spend hours trying to figure out The Sims 2’s Build/Buy Mode? I don’t entirely blame you. TheSimsResource has over 30,000 custom-built lots alone waiting to become your Sim’s new home, business, or a vital part of their local community.
Loading them in is slightly different to adding custom content or mods, and unfortunately, is a bit more complicated. This is because it isn’t strictly speaking custom content, but rather just data for your game to use – much the same as any data made by your own save files. You’re going to need an extra piece of software called The Sims 2 Clean Pack Installer.
This is a very thorough and useful tutorial if you would prefer to watch someone do it.
Grab the installer for the software and install it like you would any other software. Then, run the software. Download any custom lots you want to play with and extract them as usual, then open the file with Clean Pack Installer itself. Do this by right-clicking the file, selecting Open With, and then clicking Clean Pack Installer. You might need to browse the program yourself using that menu.
The menu for the Clean Pack Installer should show the name of the content you’re trying to install. Tick the box, then navigate to the Install button at the bottom of the window. Next, you’ll need to tell the software where to put your new content:
C:\Documents\EA Games\The Sims 2 Legacy\Teleport
As the name suggests, this folder is crucial for porting stuff in. You can set it to download here by unticking the box next to Default Installation. Click the drop-down menu next to Select Installation Folder and find the Teleport folder in your Documents. If you have a pop-up warning you that you already have some of the content installed, you can click either Yes to all or No to all, as it doesn’t make a huge difference either way.
Using Clean Pack Installer for other custom content
Clean Pack Installer will come in handy more generally if you’re planning on installing other community creations. For example, you can also use this software for installing entire Sims that other simmers have made as well.
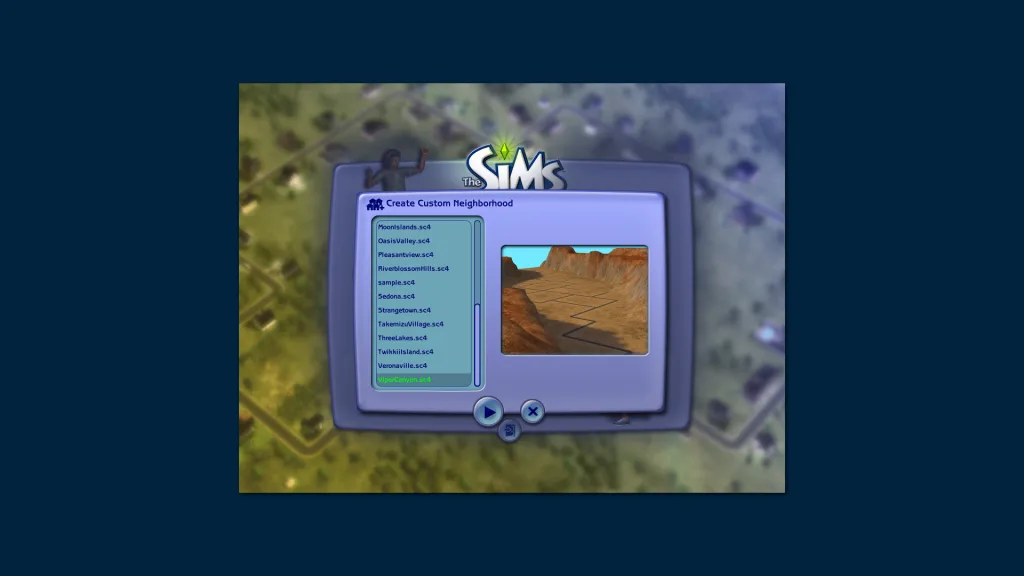
How to add custom neighbourhoods to The Sims 2
Loading custom neighbourhoods into The Sims 2 takes some care, but having pastures new to play with is well worth it. Download your desired neighbourhoods, then, as usual, get ready to extract them. Extract them to this folder:
C:\Documents\EA Games\The Sims 2 Legacy\SC4Terrains
Something really nifty is that you can follow this exact procedure to load any neighbourhoods in from SimCity 4. You won’t be able to carry over any buildings or anything you added in SimCity itself, sadly, but you can transplant the general world’s geography into The Sims 2.
Adding new terrains to Sims 2 neighbourhoods
So, you can take your customisation even further by loading different terrains into The Sims 2’s neighbourhoods. You just load these into the downloads folder, same as you would with most other custom content:
C:\Documents\EA Games\The Sims 2 Legacy\Downloads
Be careful, though. This will replace one of the default terrains made available with your game, which in turn can make pre-existing neighbourhoods pretty weird places to be. Snowy Strangetown, anyone?